In the last blog we developed an atlas program to create A4 and A3 printable maps from tables and workspaces. We could further enhance the program by adding a mask facility. The code for the mask was originally developed by Egge-Jan Pollé.
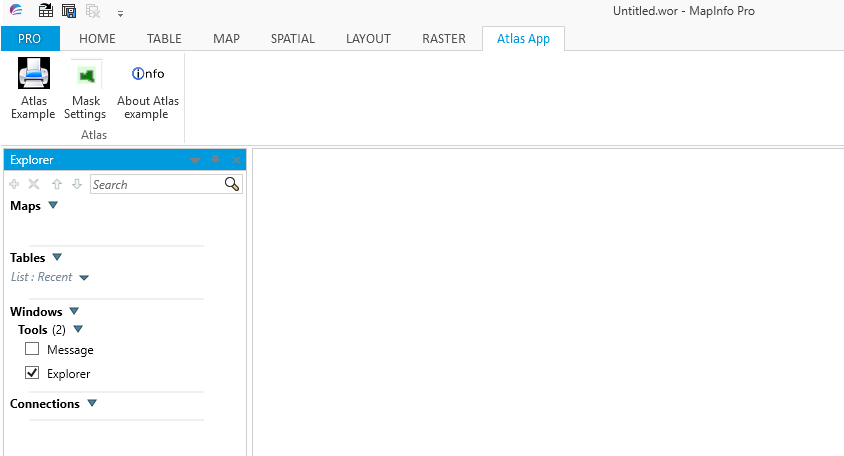
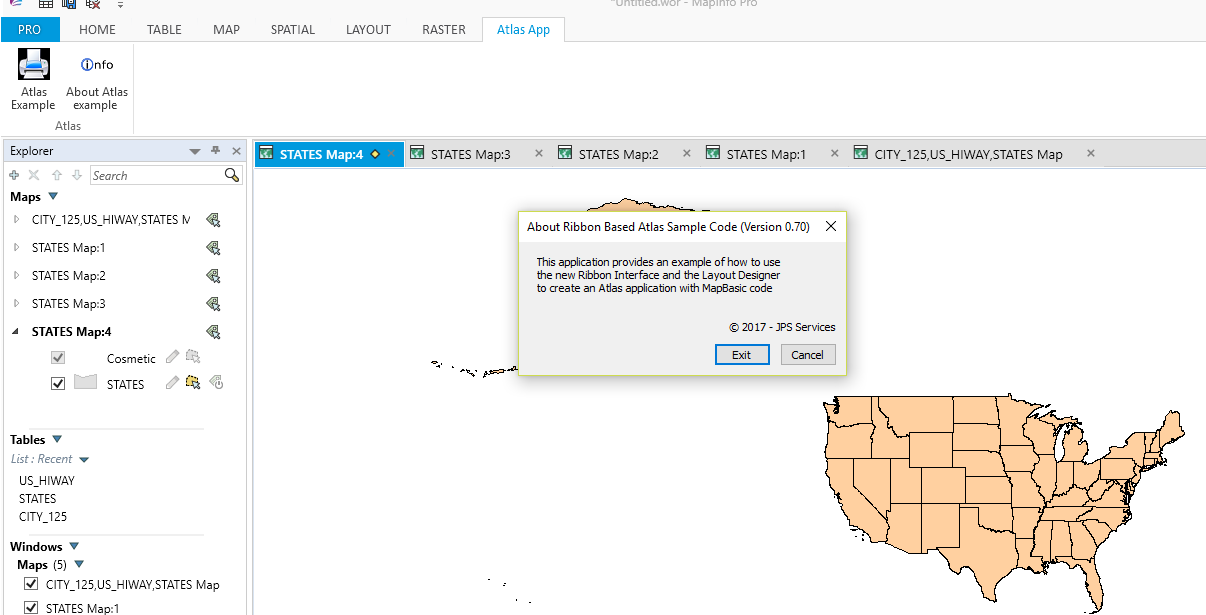
Here is a screen shot of the updated ribbon based atlas program including the mask option.
Here is a screen shot of the updated ribbon based atlas program including the mask option.
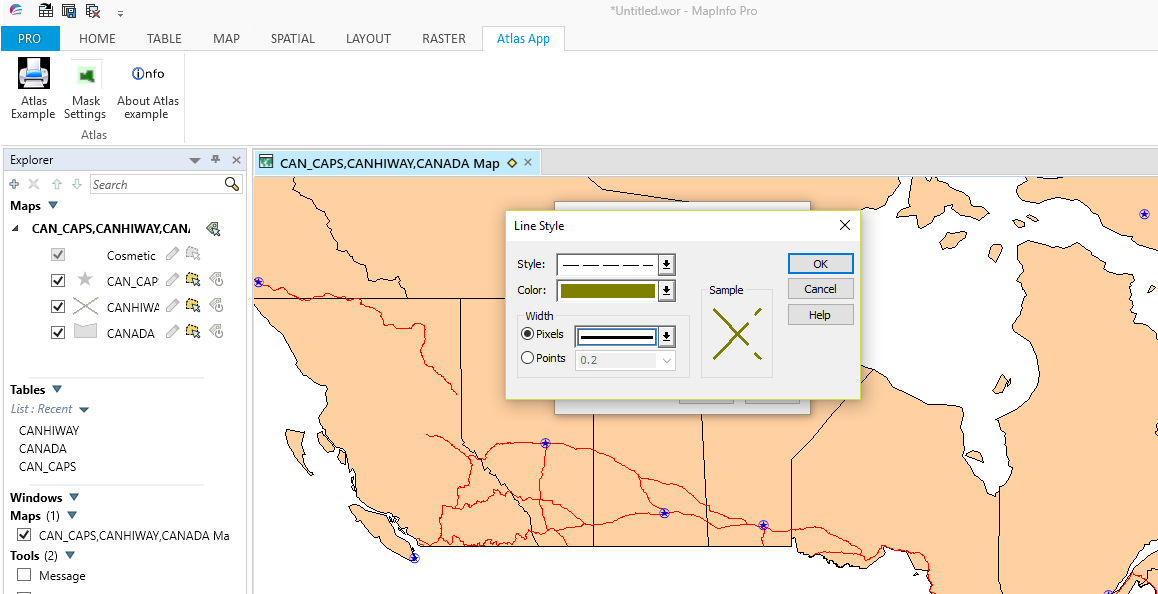
If we now use the Canadian maps provided in the MapInfo Pro trial data folder we can see how the mask works. Here is a screen shot after the Mask Settings OK button is pressed.
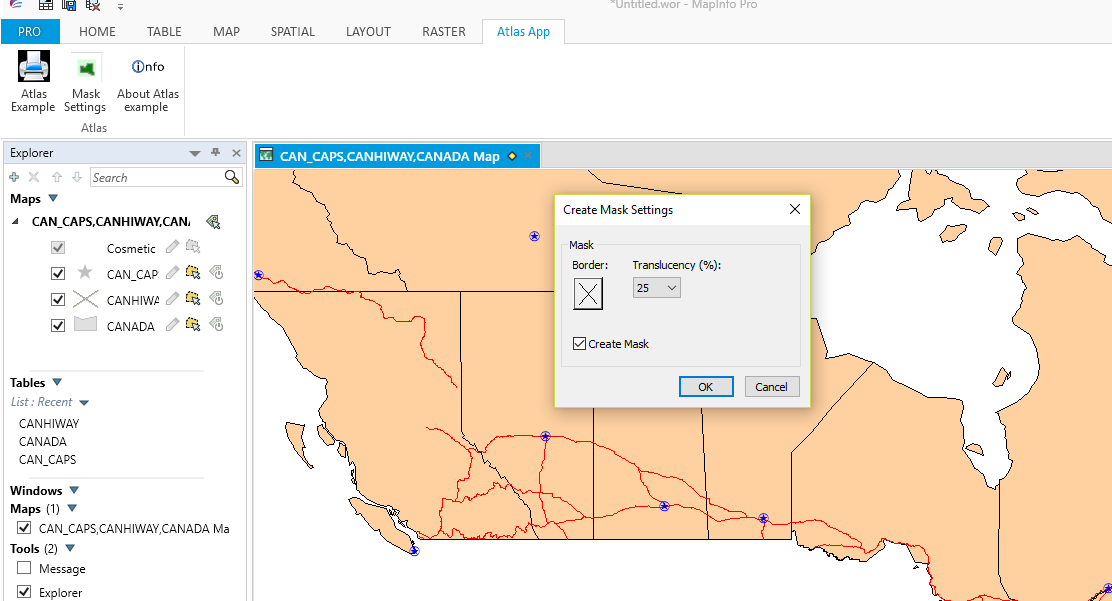
The Create Mask Settings dialogue box allows the user to select a Border style and Translucency level if the Create Mask Settings option is enabled. If the OK button is pressed with the default settings a map will be printed with the following border style.
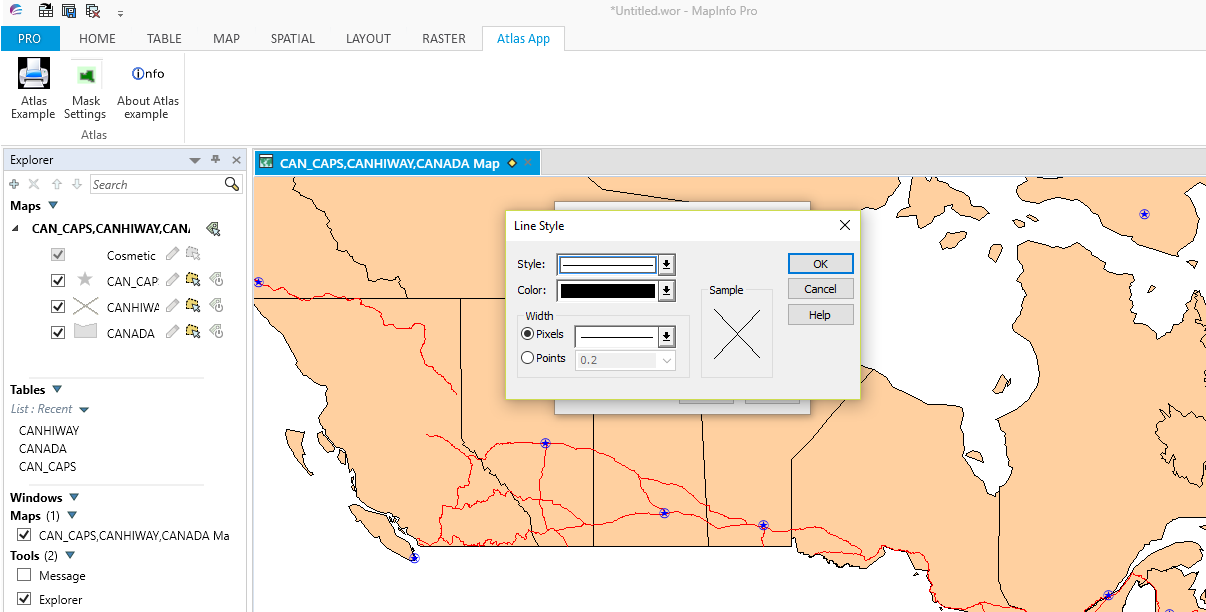
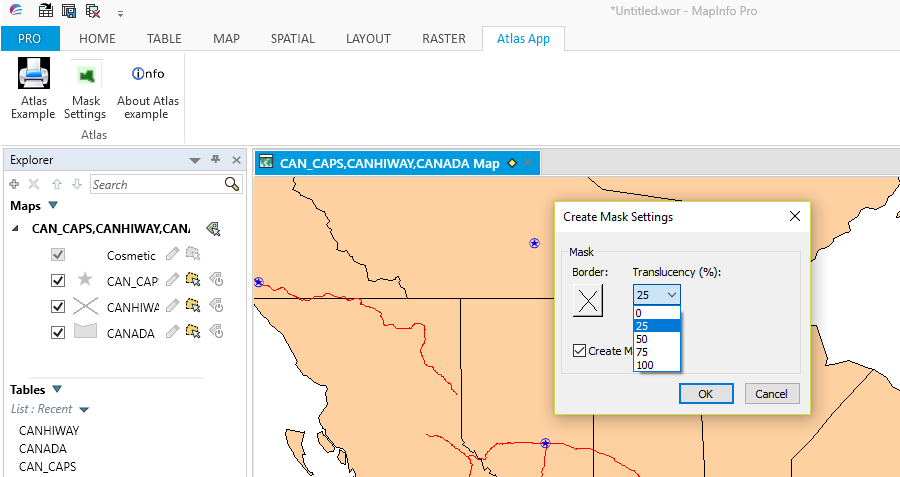
The translucency and border options are shown below:-
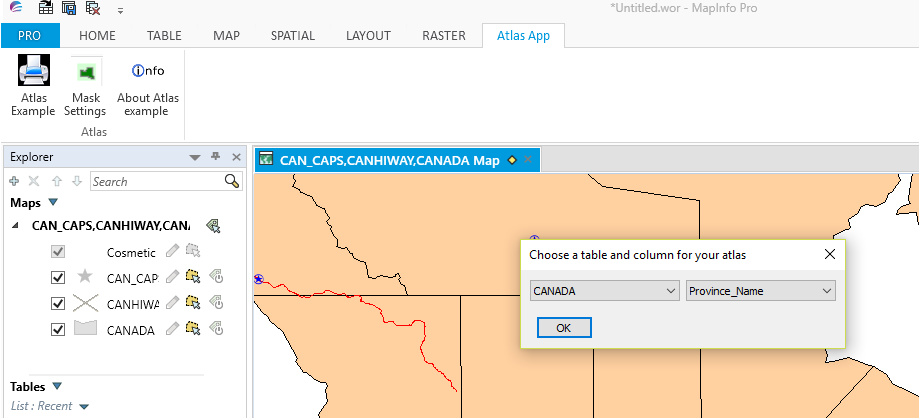
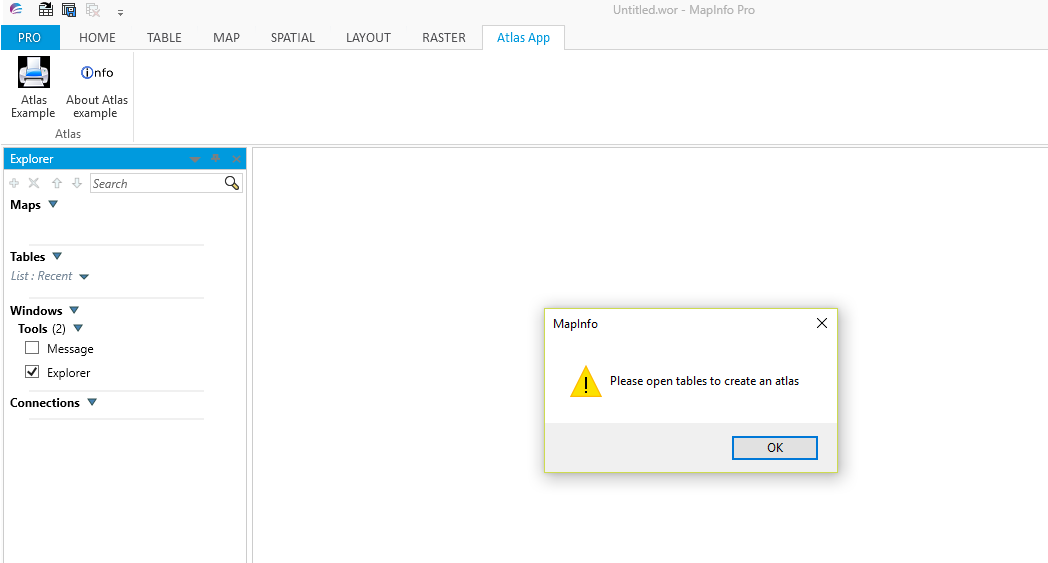
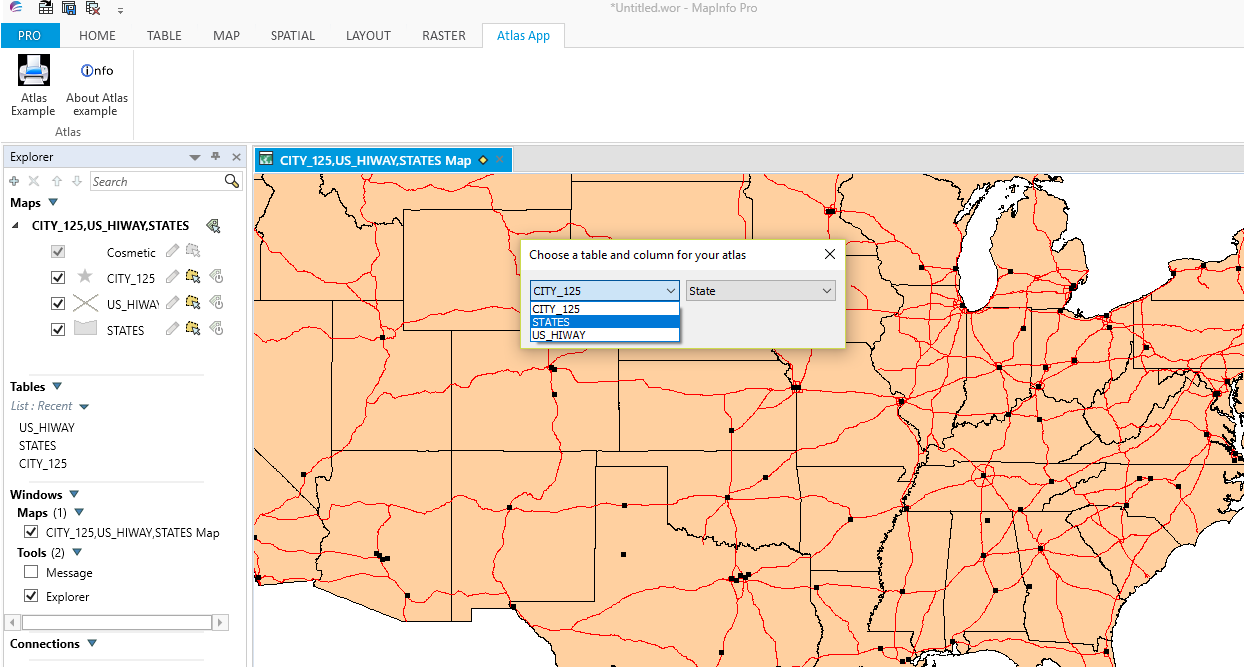
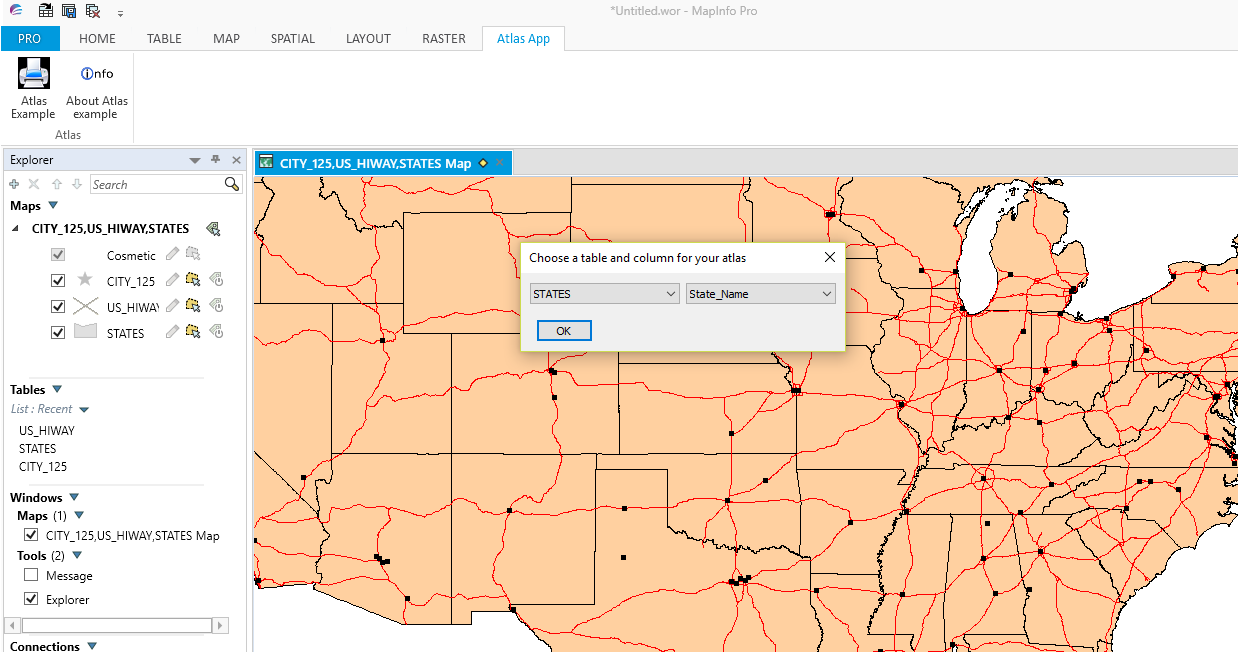
Having clicked the OK button these settings will be reflected in the maps selected. If we choose the Atlas Example button a dialogue box appears. Her you can choose a table and a column for your map/s as shown in the next screenshot:-
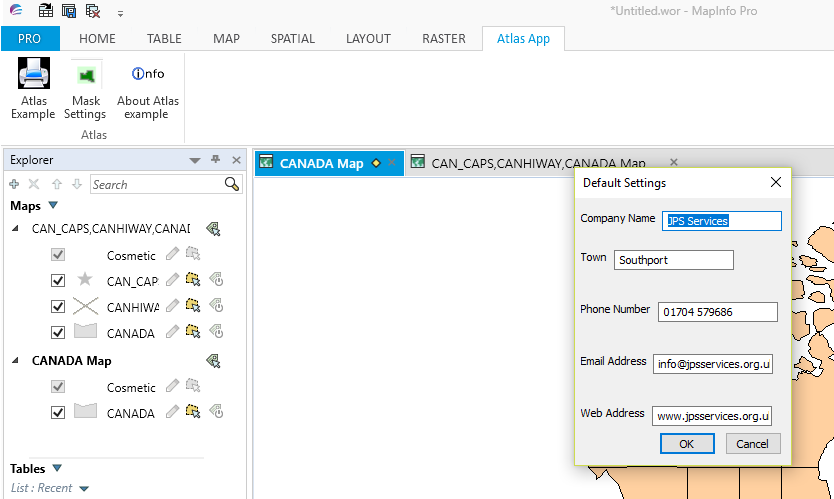
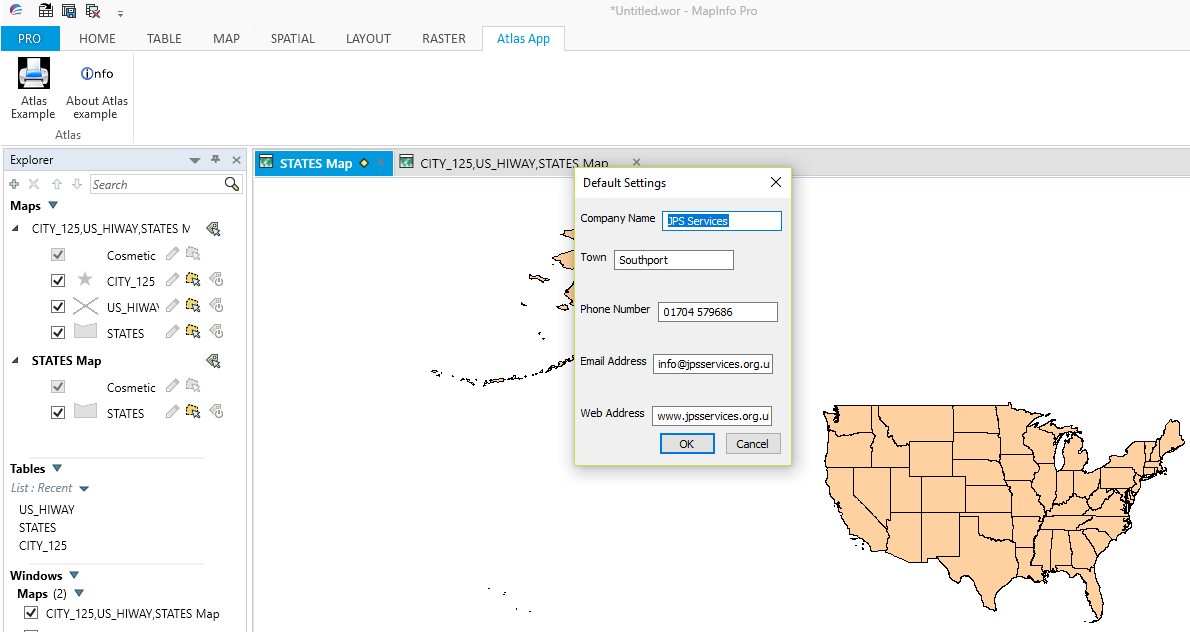
Clicking OK brings up the Default Settings dialogue box. Here you can make changes as required. Here is a screen shot of the dialogue box.
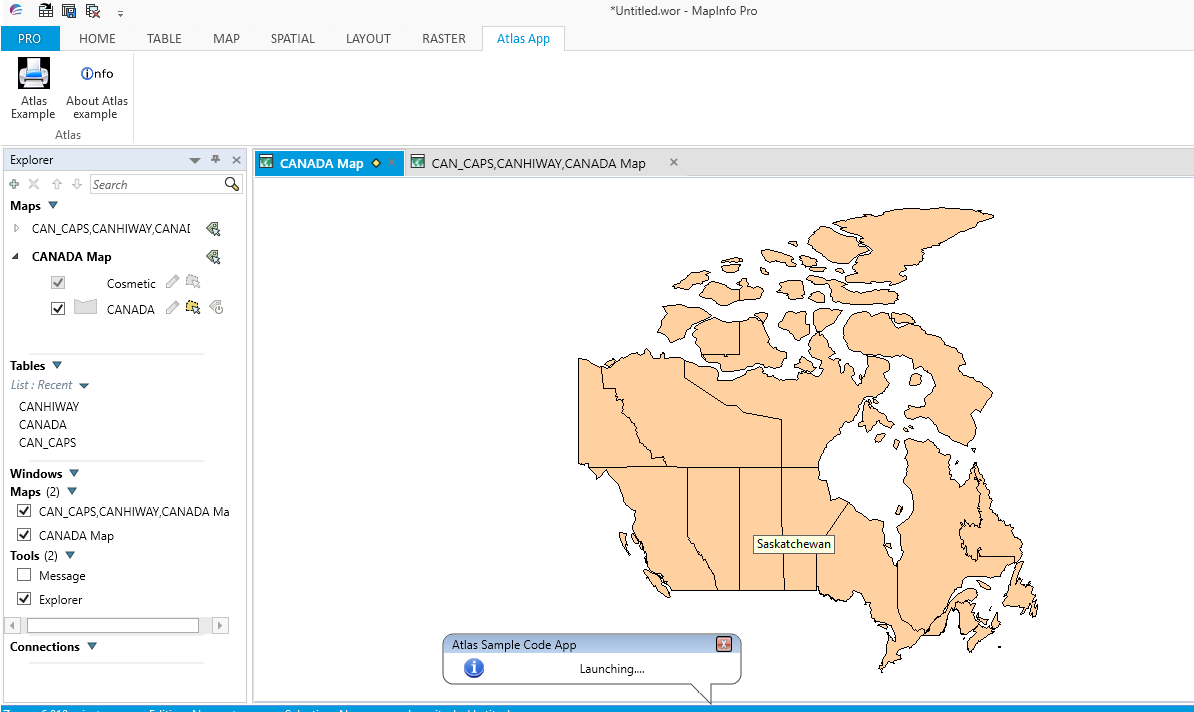
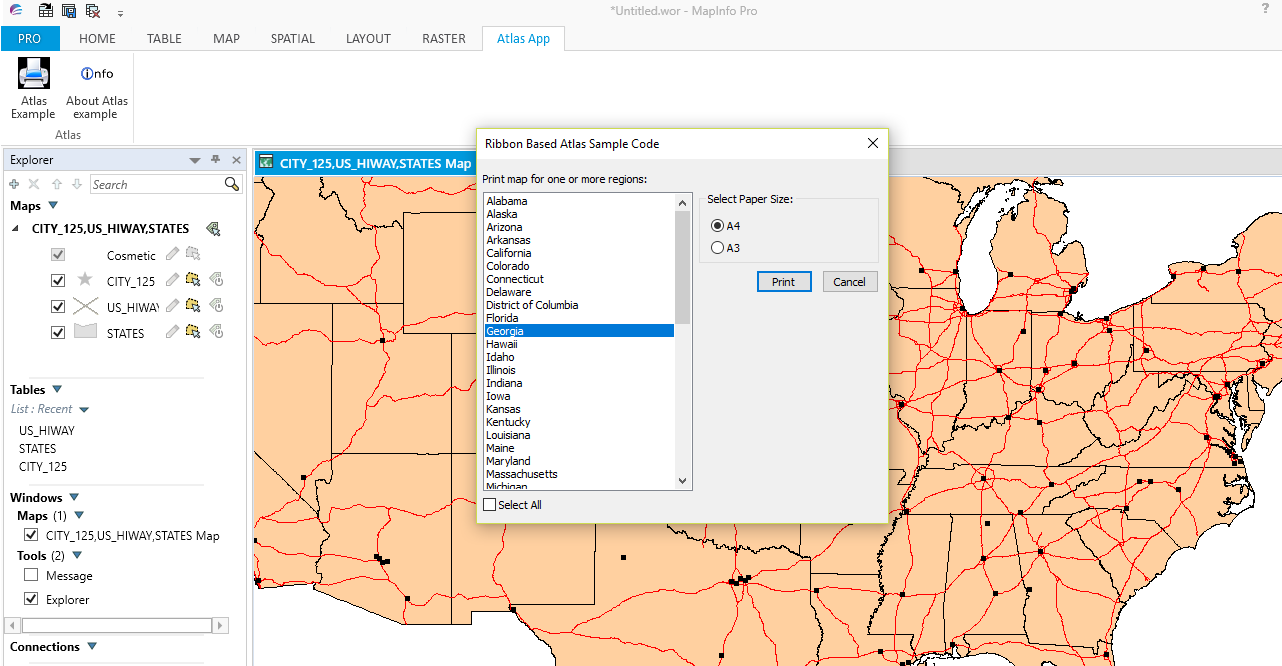
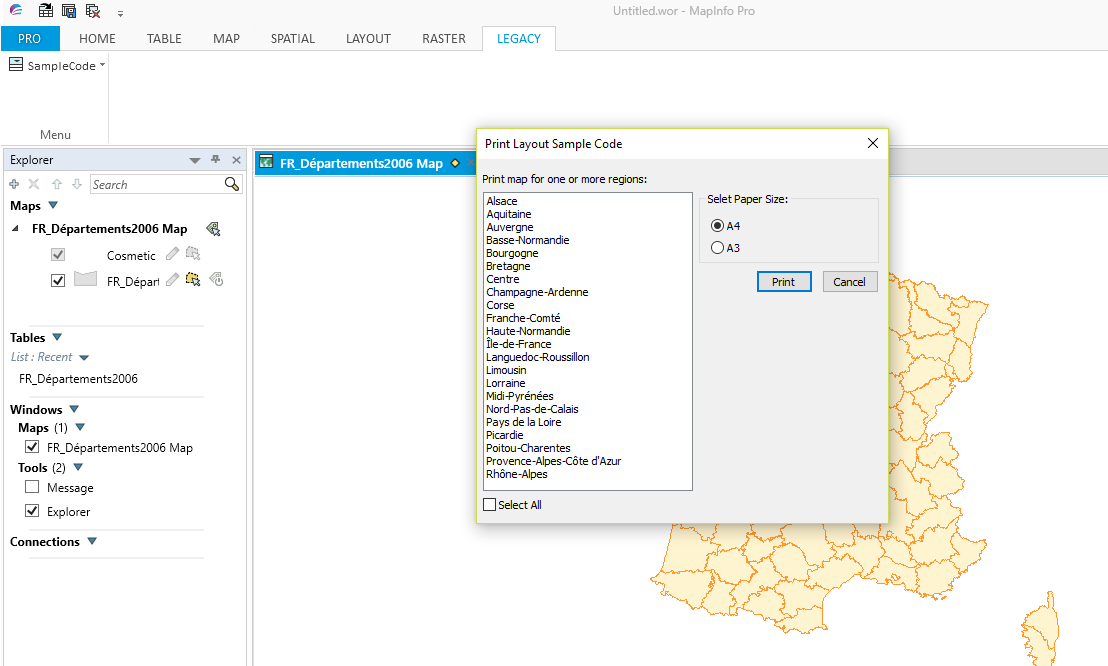
Clicking on OK will bring up the Ribbon Based Atlas Sample Code dialogue box as shown in this screen shot.
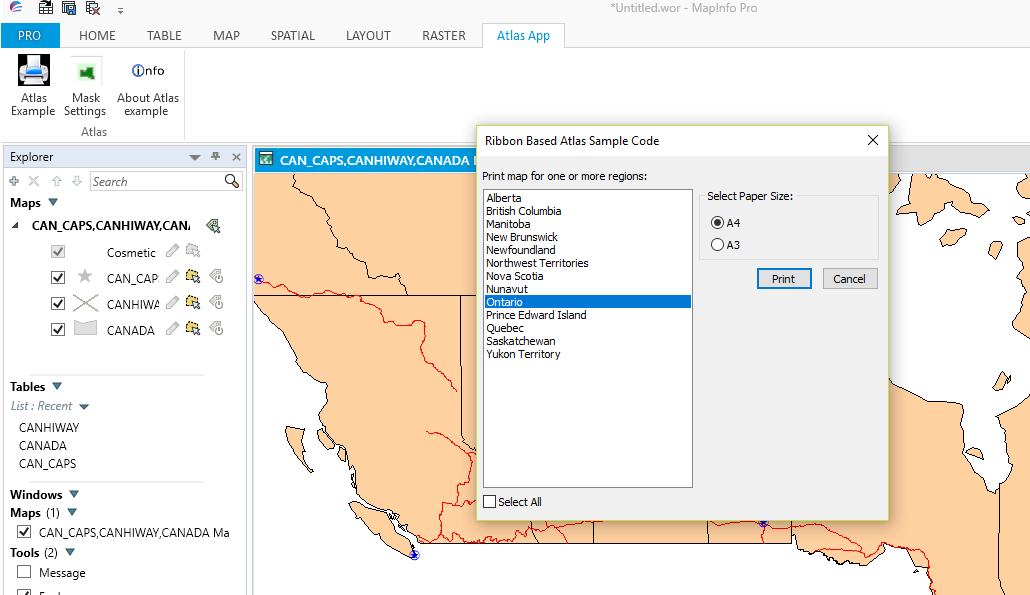
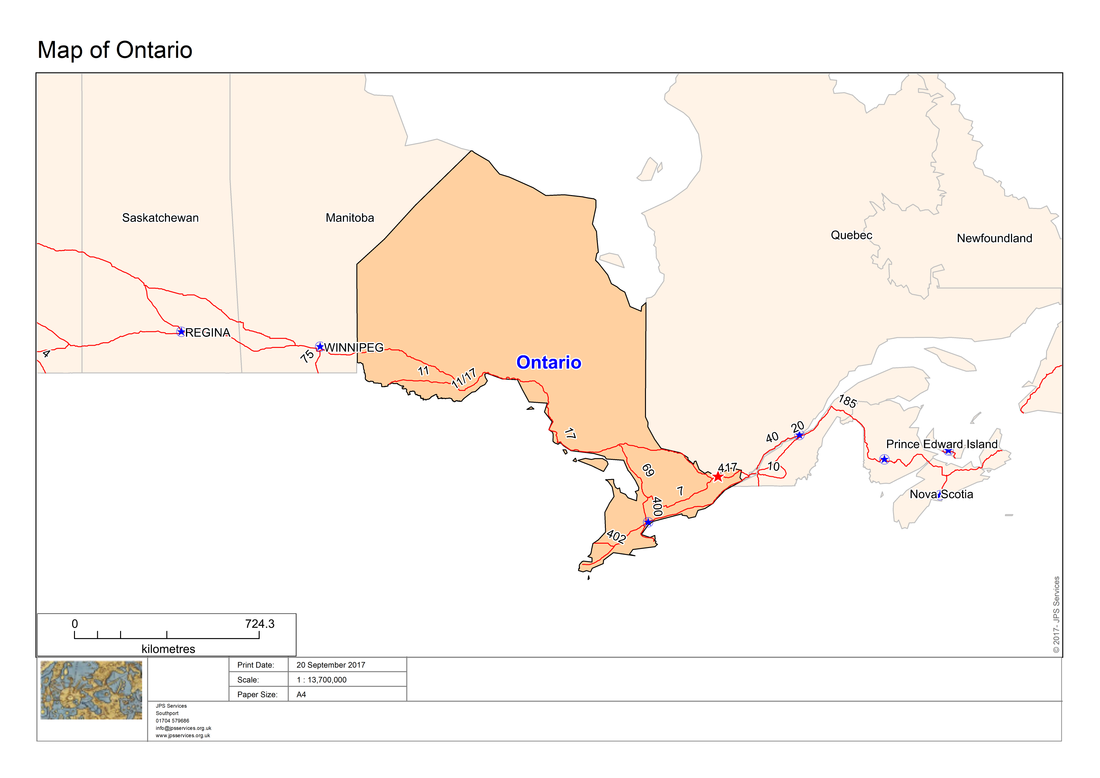
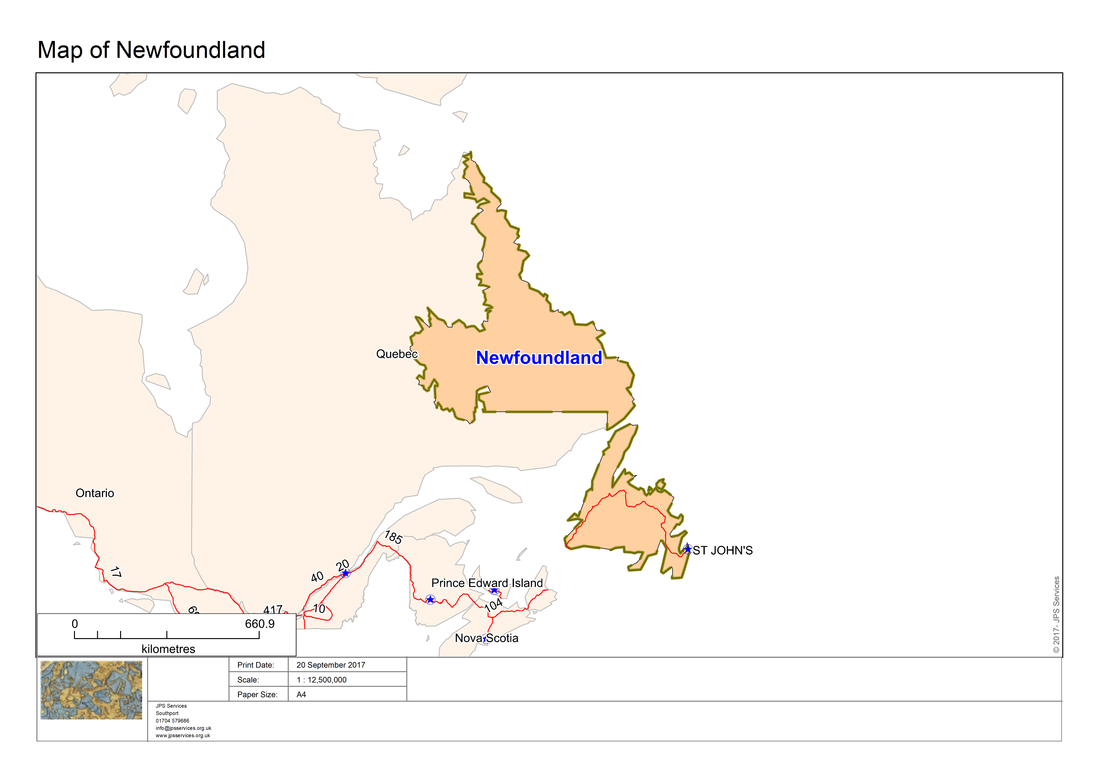
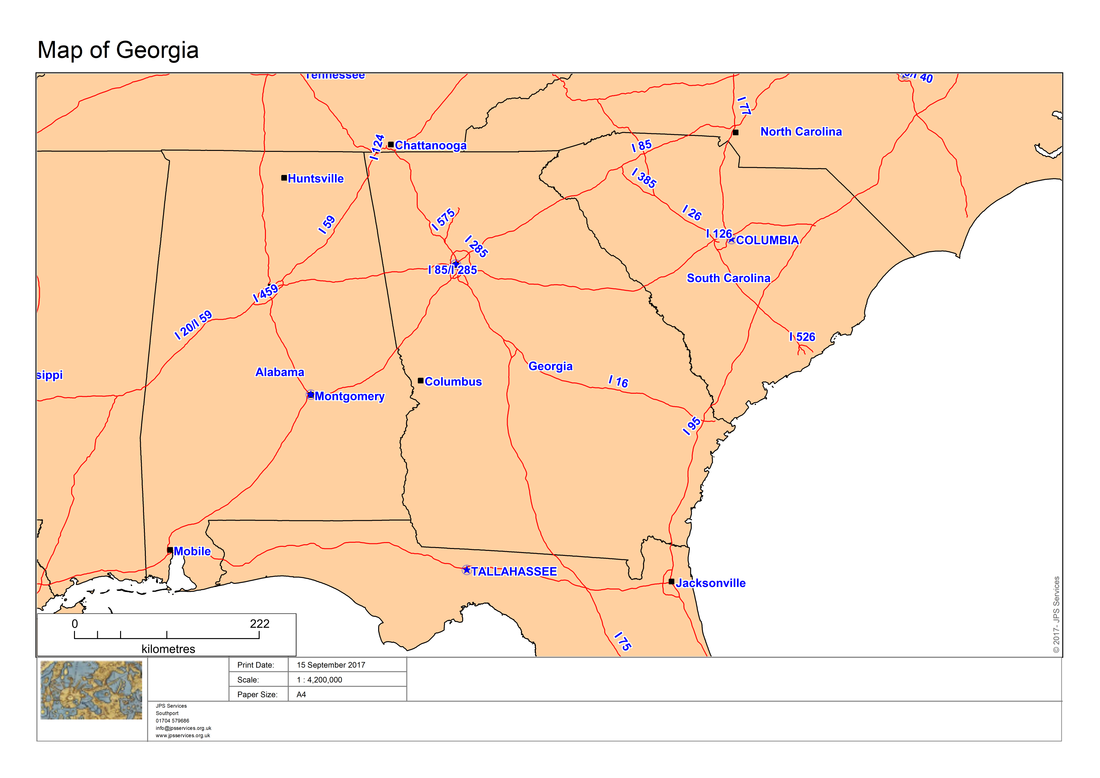
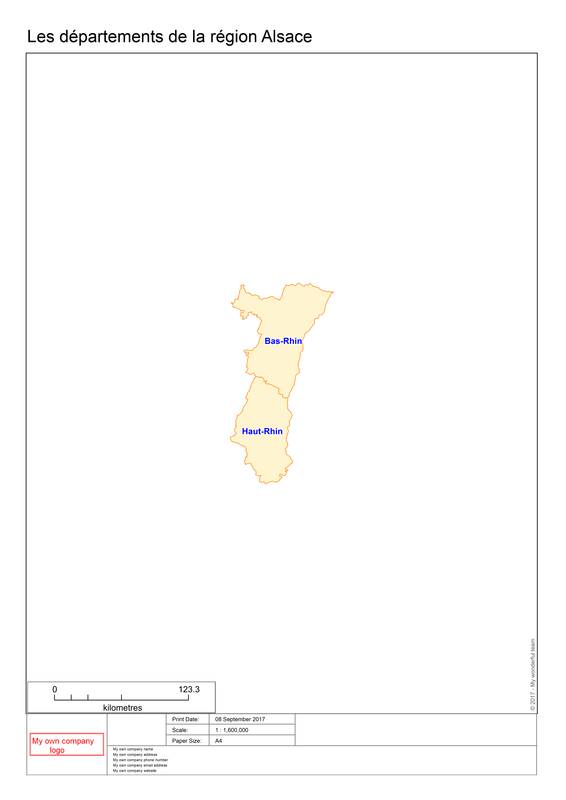
Having chosen one or more regions clicking on the Print button will produce output like the following screen shot.
We could change the translucency level or the borders by clicking on the Mask button. The screen shot shows the proposed changes.
Here is a screen shot of a printed map after making these changes to the border type.
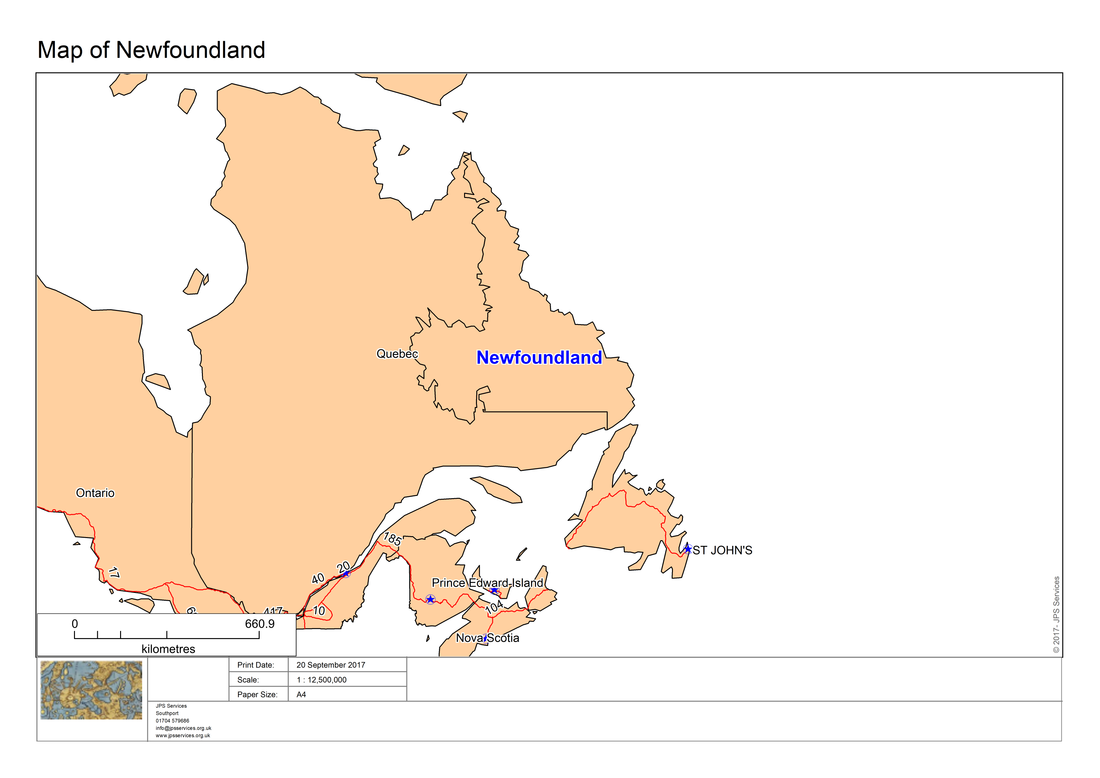
If you require a map without a mask you can do this by clicking on the Mask Settings button and deselecting the mask option. Here is a map created after deselecting the mask option:_

 RSS Feed